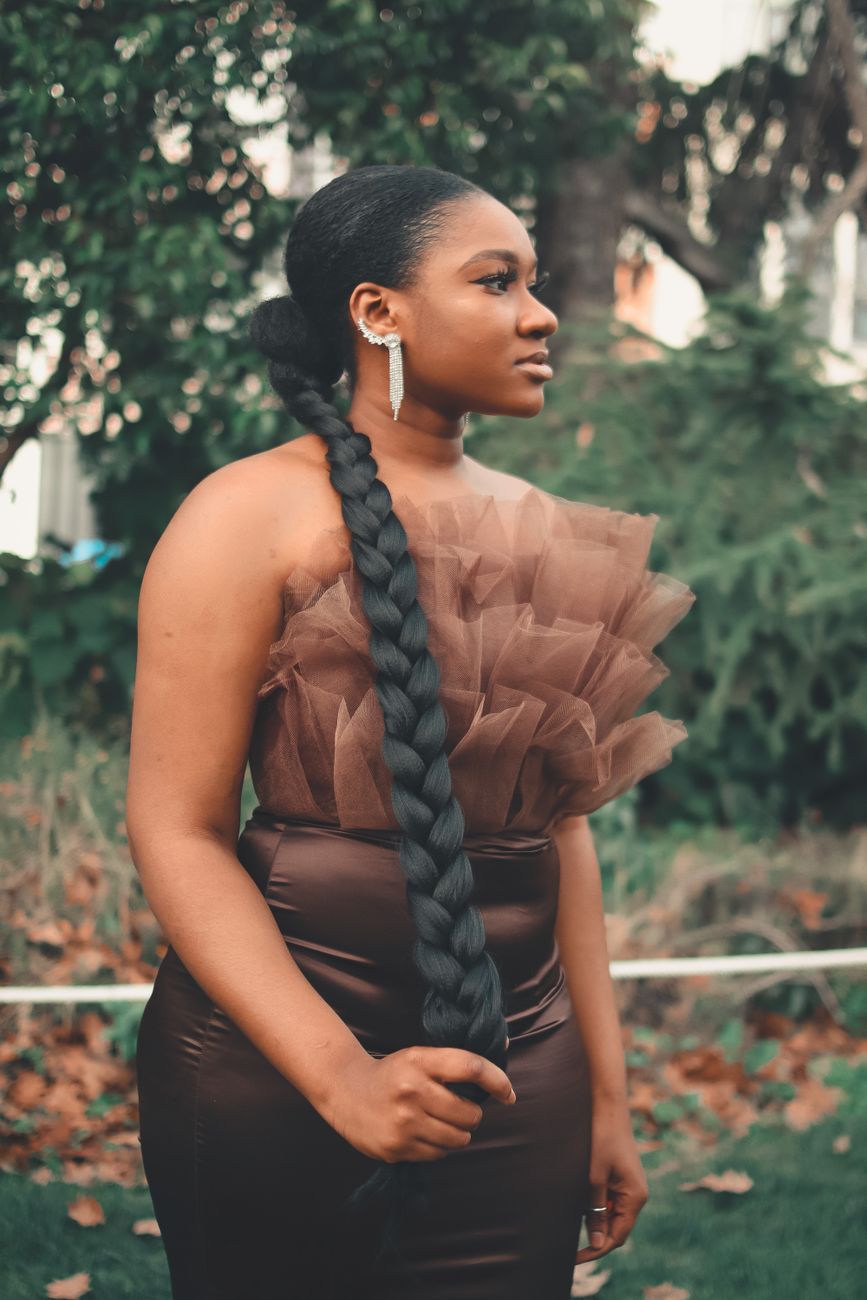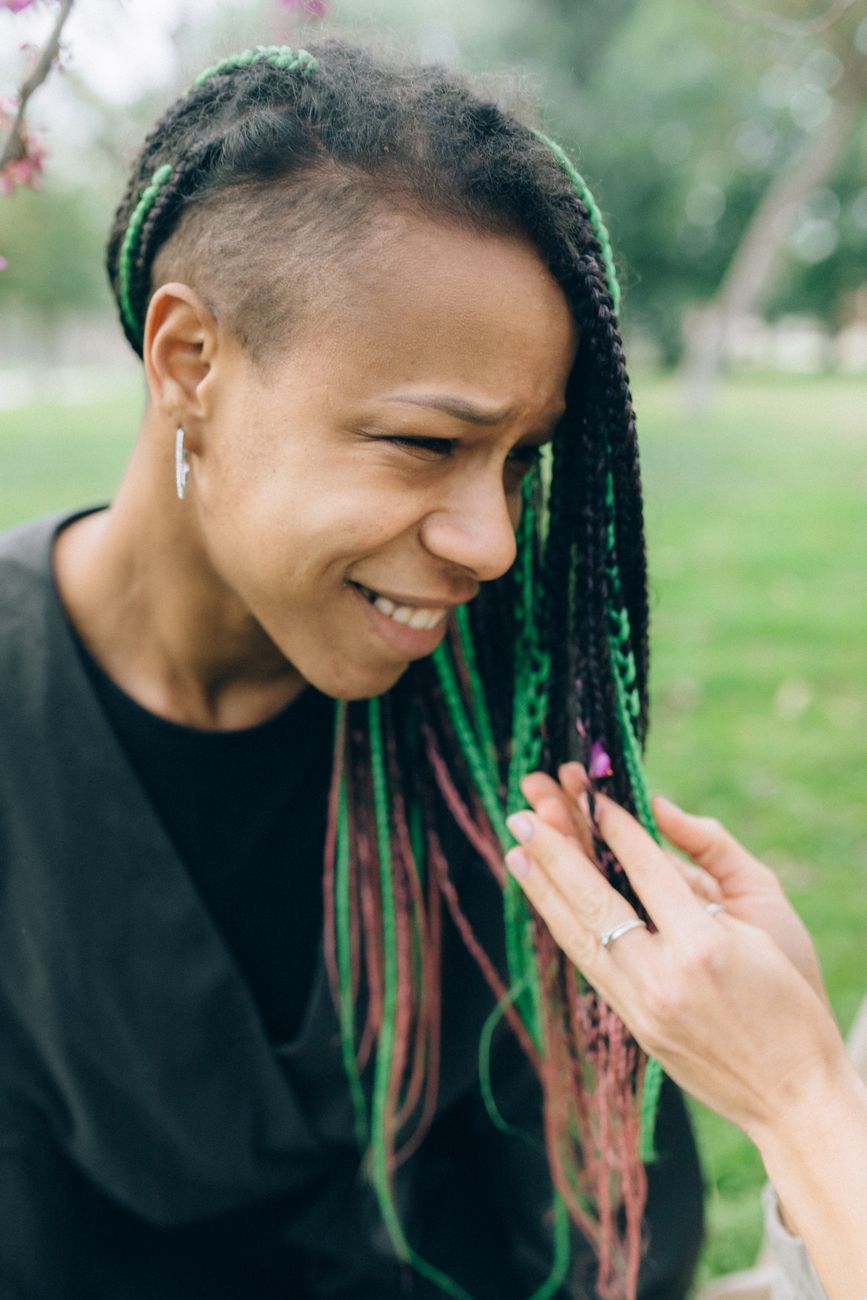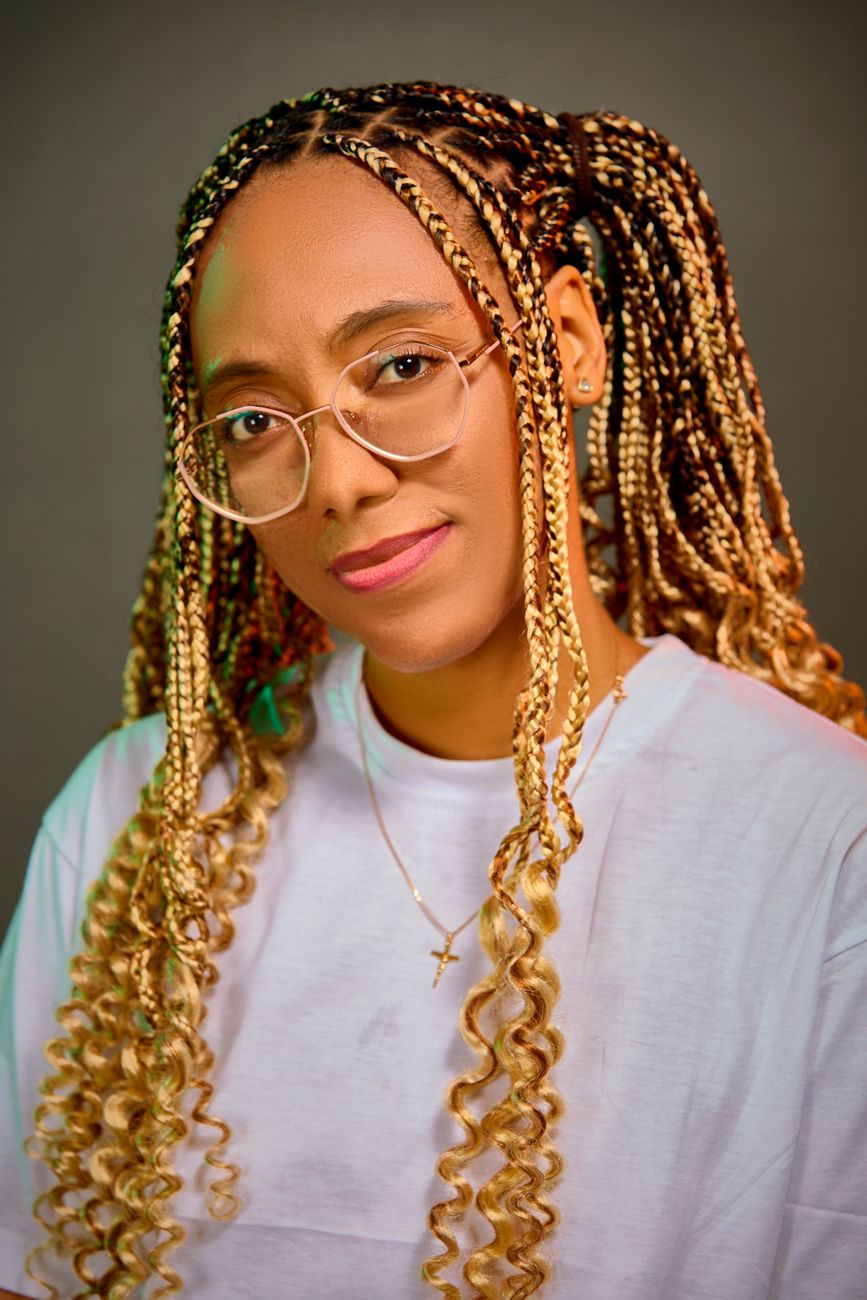
Goddess Braids — a hair look

woody photography · Pexels

hair look

Goddess Braids

  • goddess braids
  • curly ends
  • middle part
  • waist length braids
  • small braids
  • beginner

The breakdown

  • Goddess Braids
  • Curly Ends
  • Middle Part

How it is done

  1. 10:27Gather nail glue for the ends, synthetic water-wave curly hair (the curls hold) and about two packs of Kanekalon braiding hair.
  2. 20:56Comb out your hair and tie the braiding hair in a loose knot so it doesn't tangle while you work.
  3. 31:25Part your hair in triangle partings.
  4. 41:53Split your own hair between two legs of the braid, leaving one leg with none of it, so braids last longer and don't slip.
  5. 52:21Lay a curly piece against the braid and keep braiding; clip the released curl aside so it doesn't feed back in.
  6. 63:16Measure where to add each curl by its length; use smaller curly pieces at the nape so it isn't bulky.
  7. 74:13Near the end, add one drop of nail glue, roll it between thumb and finger, let it dry and trim only the Kanekalon so the curl stays.
  8. 85:11At the top, cut the packs in half for preset lengths and start adding curls about two inches from the root.
  9. 96:35Stagger curl lengths for a tapered look or centre them for fullness; braid four to six times before releasing a ringlet so it can't slide out.
  10. 108:28Trim uneven curly ends at a downward angle so there are no sharp lines.

In this look

As an Amazon Associate, BLK GLO earns from qualifying purchases. These are affiliate links: BLK GLO may earn a commission at no extra cost to you, and Amazon sets the price.

Save it, shop it, book it

Open this look in BLK GLO to save it to a board, check the products against your own hair, and find a stylist who can do it.

Open in the BLK GLO app

Not installed? Get notified at launch.

More like this